Circuit Board Free Scratch Coding Activity
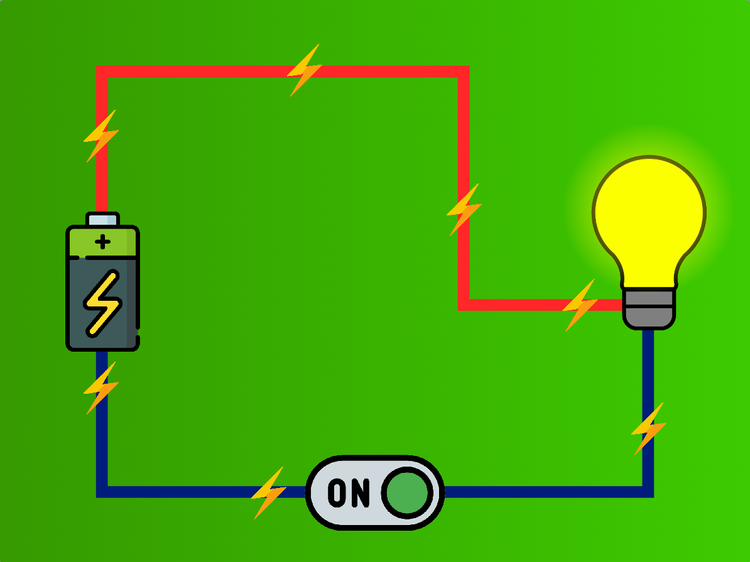
Follow our easy coding instructions to build your own electronic circuit in Scratch to switch on to light up the bulb!
- 1
Go to the Scratch website: https://scratch.mit.edu/
- 2
Sign in or register for Scratch
If you already have a Scratch account, click ‘Sign in’ and enter your login details. Otherwise click ‘Join Scratch’ and create your free Scratch account.
- 3
Open this starter file: https://scratch.mit.edu/projects/948061105/
- 4
Click the Remix” button to make your own copy

- 5
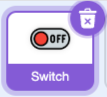
Start by clicking on the 'Switch' sprite.
- 6
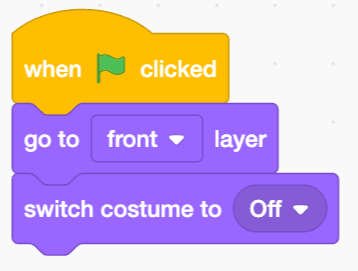
Add this code to set up how the switch will look.
The switch will start in the 'off' position.
- 7
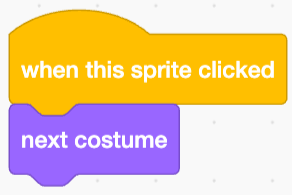
Next, add this code so we can flip the switch by clicking on it.
- 8
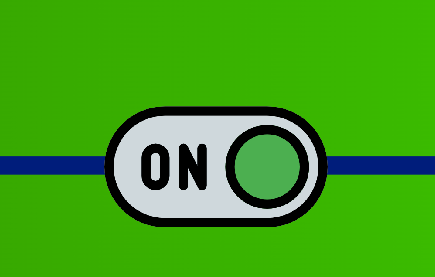
Try flipping the switch by clicking on it. Does it change to 'on'?
- 9
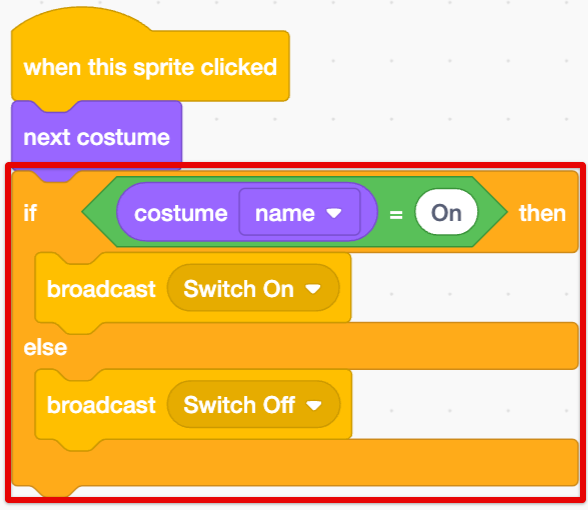
Now add this code to the switch so that different things will happen depending on if the switch was turned on or off.
The broadcast blocks let us send messages to other sprites in our project.
- 10
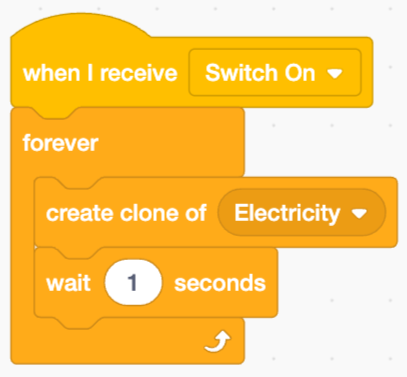
Select the 'Battery' sprite and add this code.
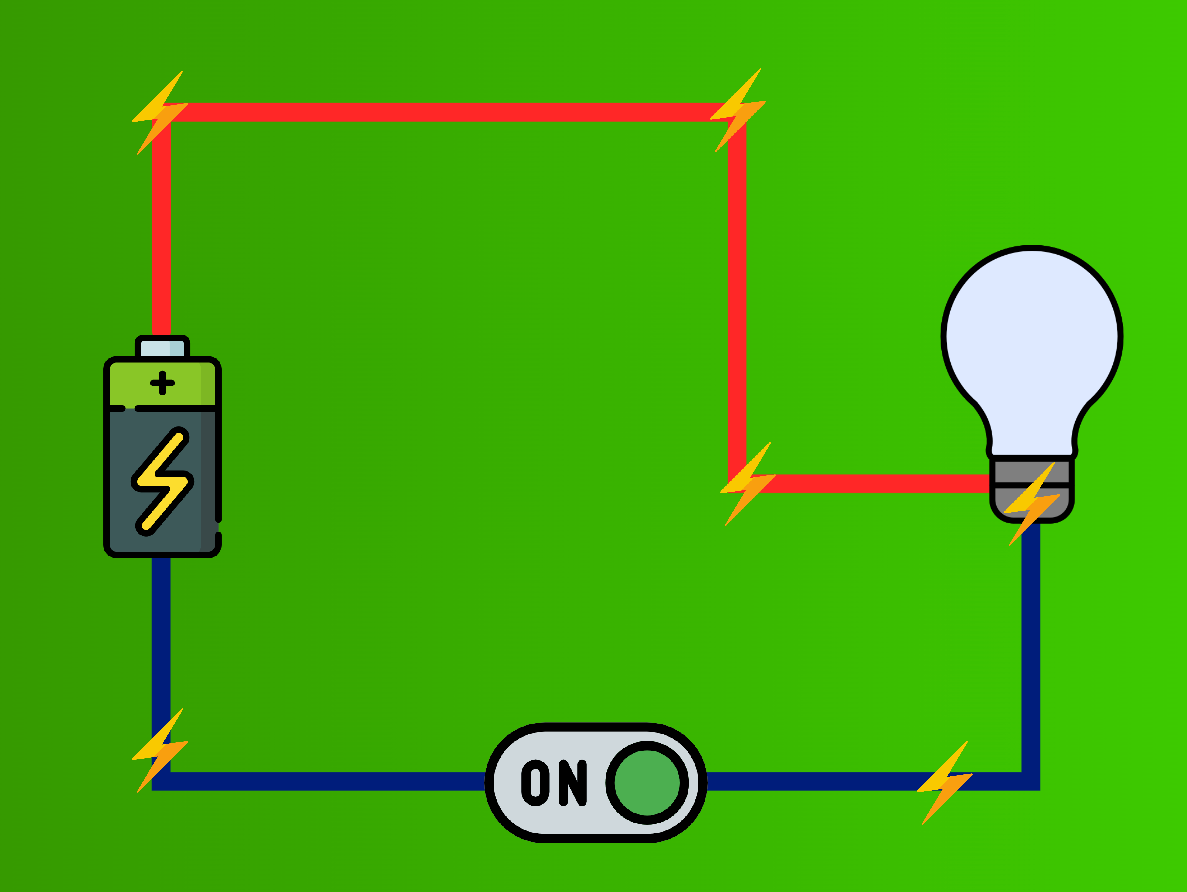
The battery sprite will now make copies of the 'Electricity' sprite when the switch is on.
- 11
Let's test it out! Press the Green Flag.
The 'Electricity' sprite already has code that tells it where to move.
- 12
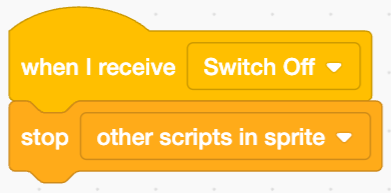
Add this code to the battery so that the electricity will stop when the switch turns off.
- 13
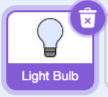
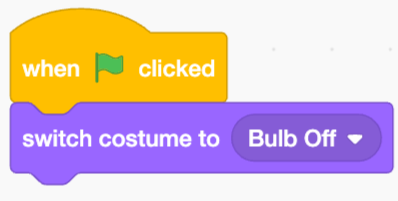
Finally click on the 'Light Bulb' sprite and add these blocks.
The light bulb will be off to begin with.
- 14
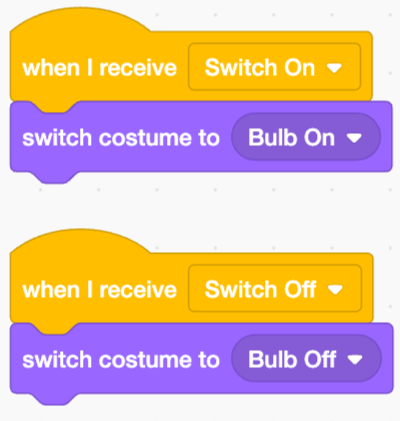
Then add these blocks so that we can turn the light bulb on and off with the switch.
- 15
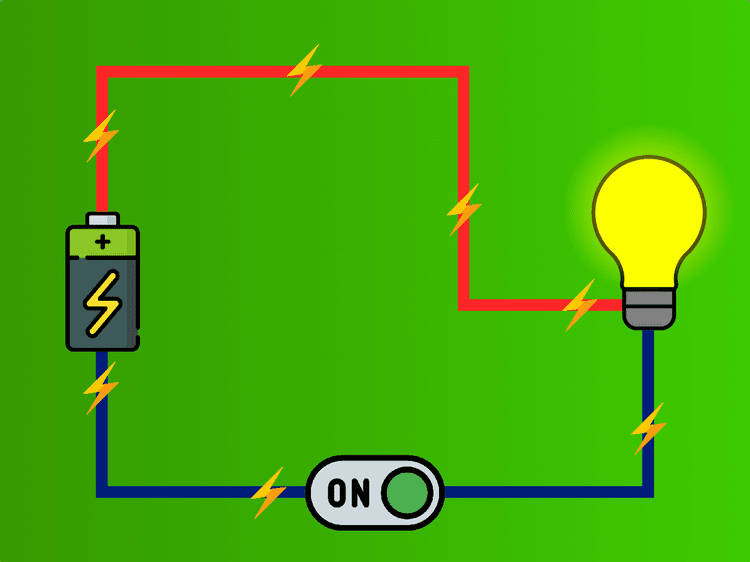
Now you have a working circuit! Try clicking the Green Flag, then flipping the switch on and off to see how it works.
Thanks for building a game with us!
If you enjoyed this coding activity be sure to sign up for our online coding classes for kids. Our coding classes are a lot of fun, but they’re also really effective at teaching coding techniques and challenging students to develop their skills. You’ll learn about loops, variables and functions - and everything in between - and you’ll build your own games and animations with a small group of kids of the same age and experience level as you.
Sign up for one of our free coding lessons