Digital Art Free Scratch Coding Activity
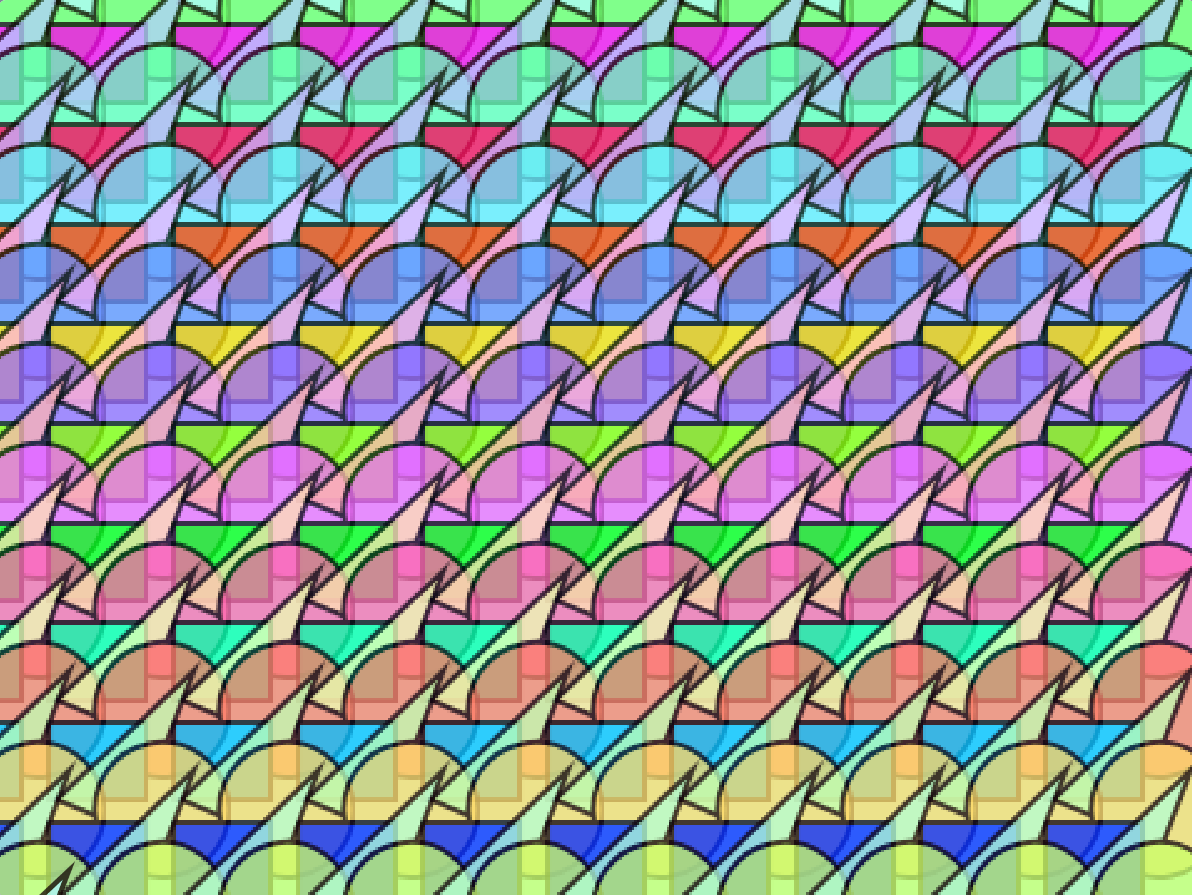
Follow our easy coding instructions to design a work of art in Scratch.
- 1
Go to the Scratch website: https://scratch.mit.edu/
- 2
Sign in or register for Scratch
If you already have a Scratch account, click ‘Sign in’ and enter your login details. Otherwise click ‘Join Scratch’ and create your free Scratch account.
- 3
Open this starter file: https://scratch.mit.edu/projects/961645205/
- 4
Click the 'Remix' button to make your own copy

- 5
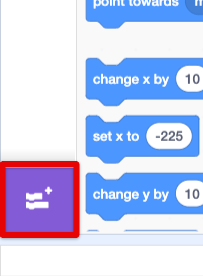
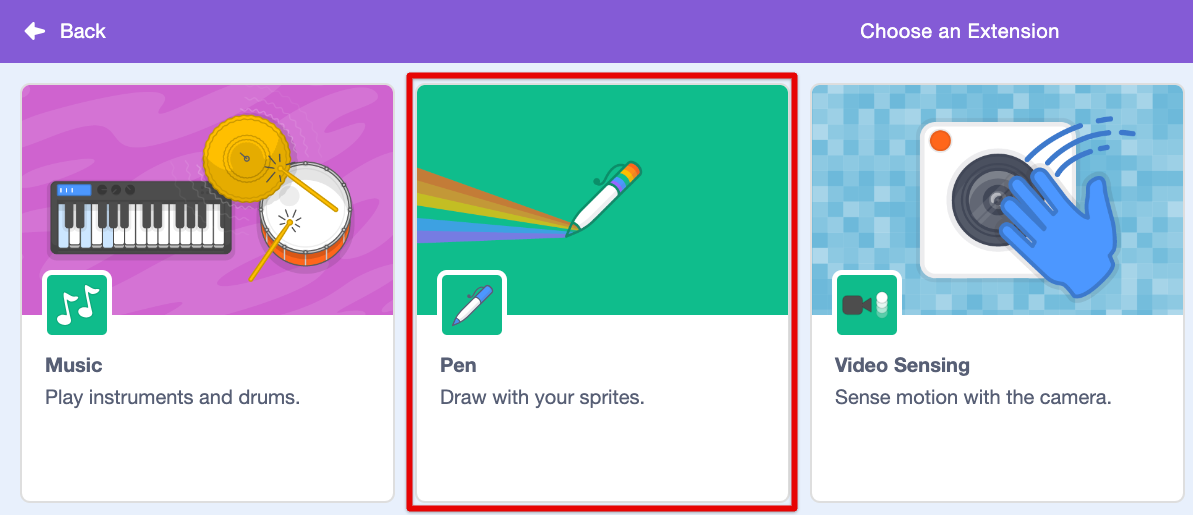
First we'll need to add the 'Pen' extension to our project.
This allows us to use special blocks that help us create art.
- 6
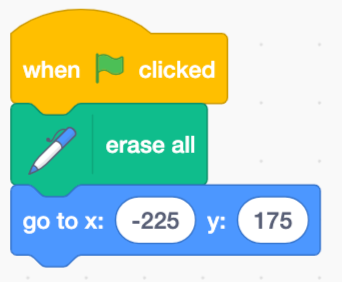
Start by adding this bit of code to set up the 'Shape' sprite.
We're going to use this single sprite to make an awesome pattern!
- 7
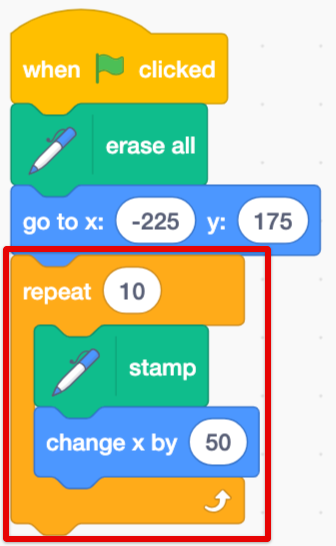
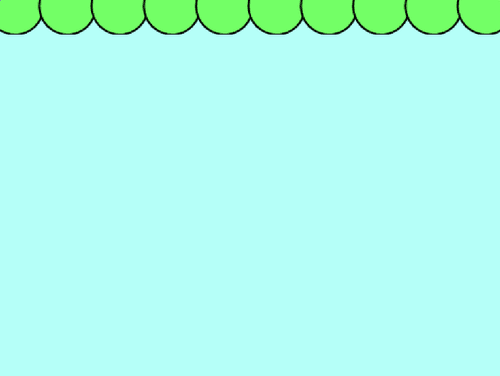
Now we can use a 'repeat' loop to make 10 stamps of our sprite in a row.
Don't forget to test out the code by pressing the 'Green Flag'.
- 8
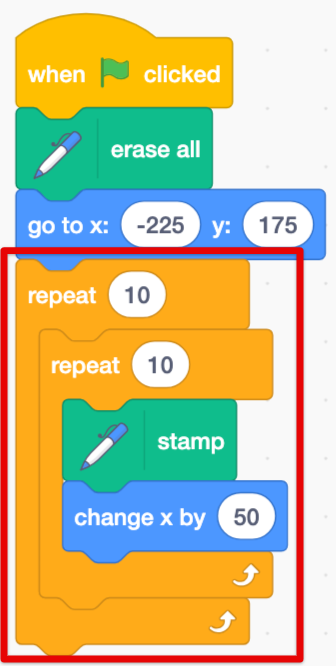
Next, add another 'repeat' loop around the first one.
This will let us make 10 rows of circles.
- 9
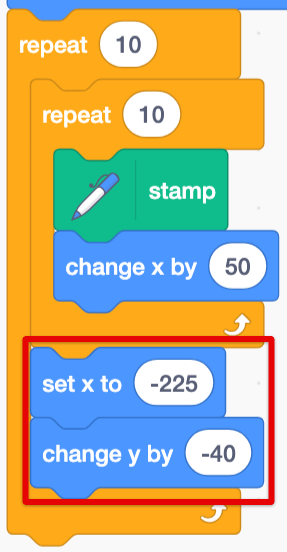
Place these blocks inside the second loop so that each row will start in the right position and be lower down than the last one.
- 10
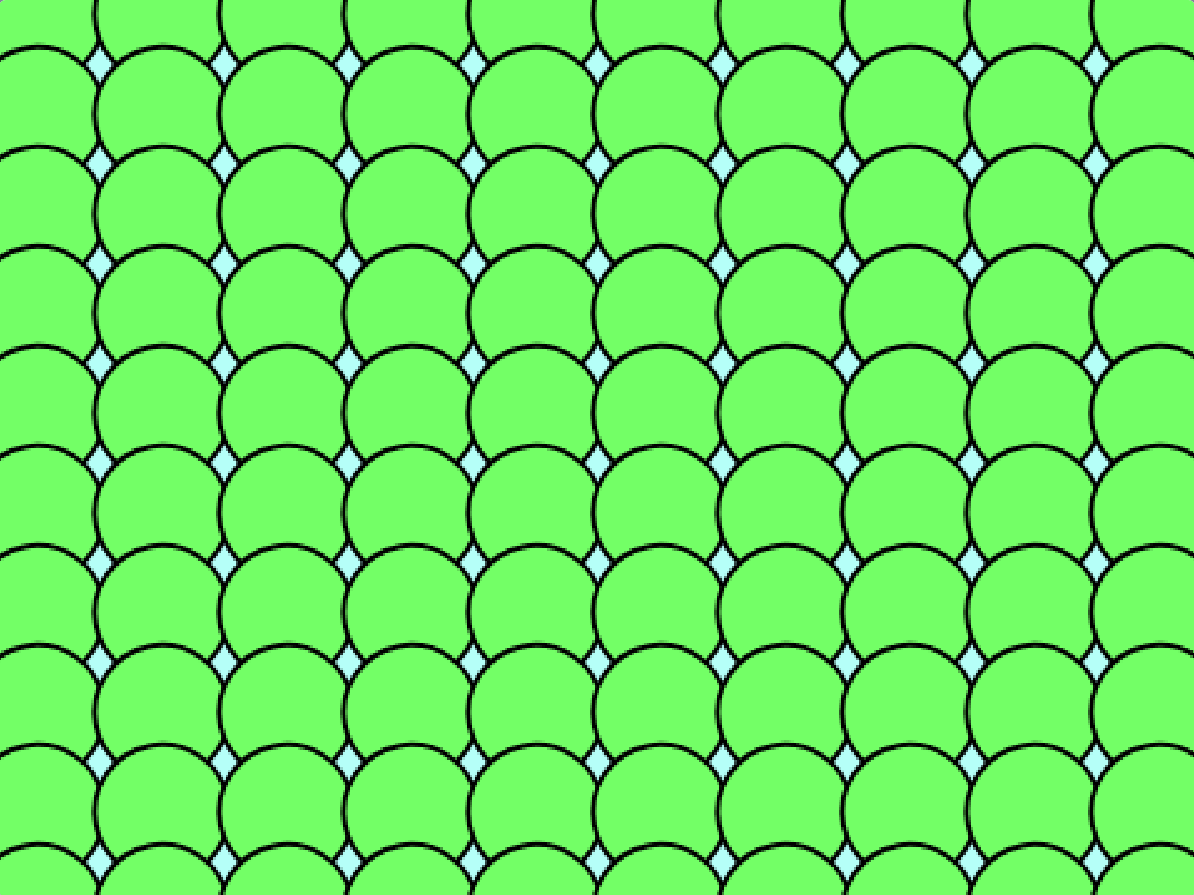
Let's test it out! Press the 'Green Flag' to see 10 rows of circles covering the stage.
- 11
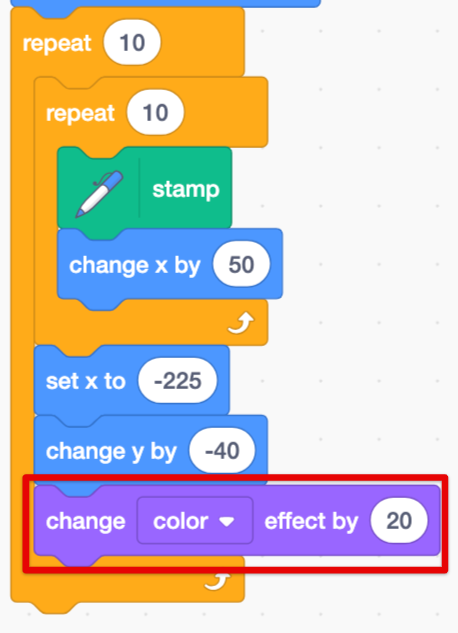
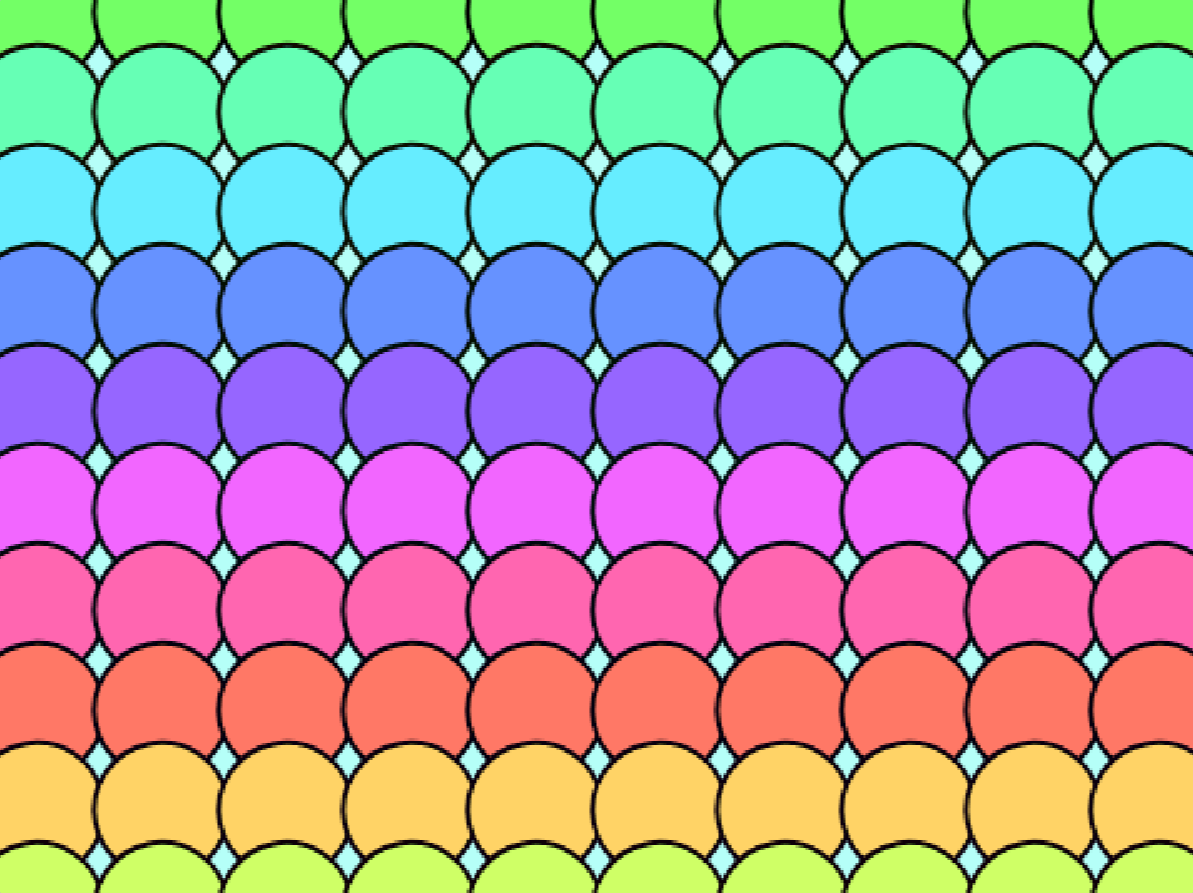
Now let's try customizing the pattern by adding the change color block.
- 12
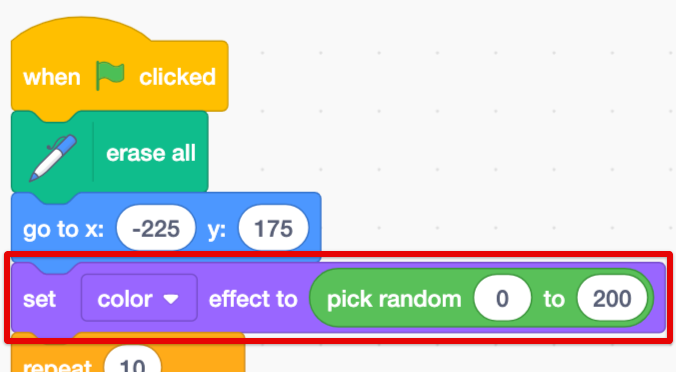
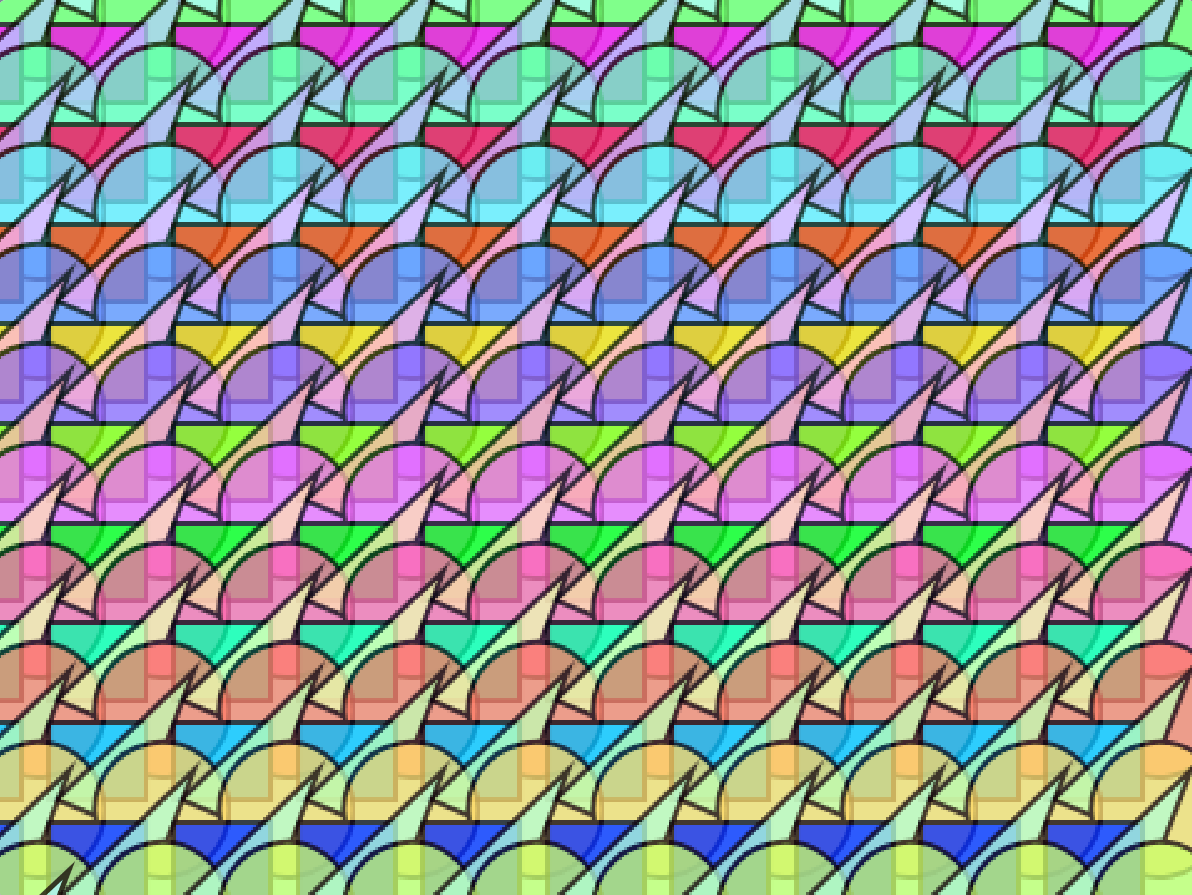
You can also make the pattern start with a random color so that the result is different every time.
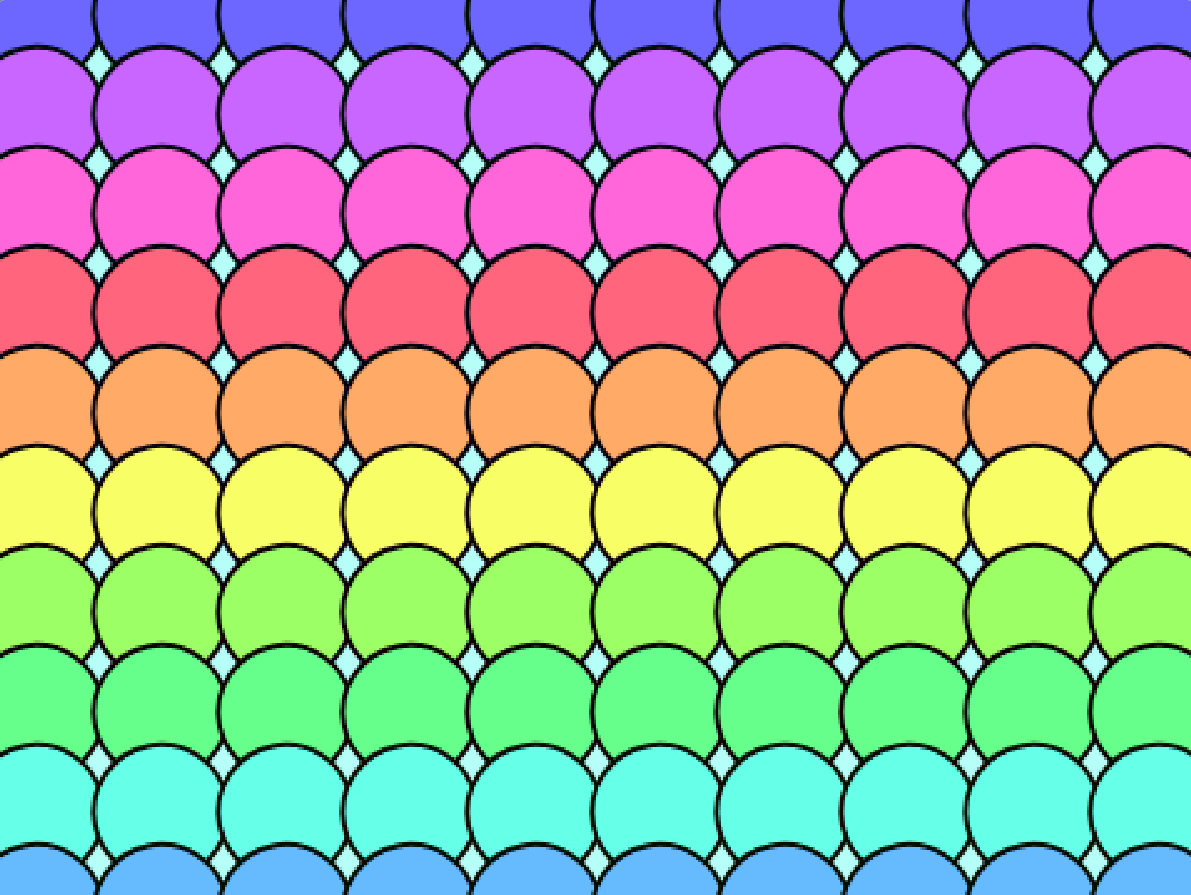
- 13
The ghost effect makes our sprite transparent, creating a cool overlapping effect.
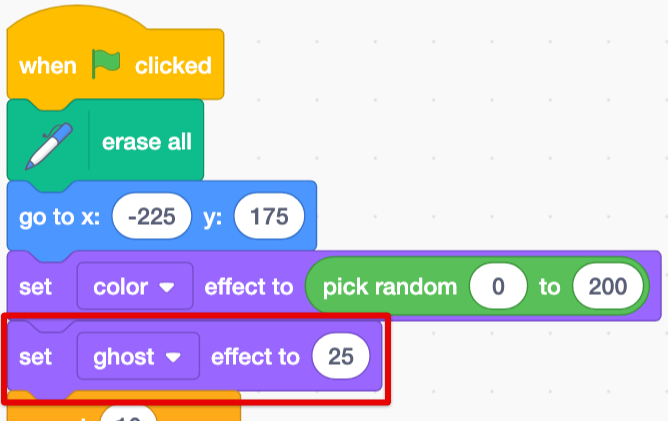
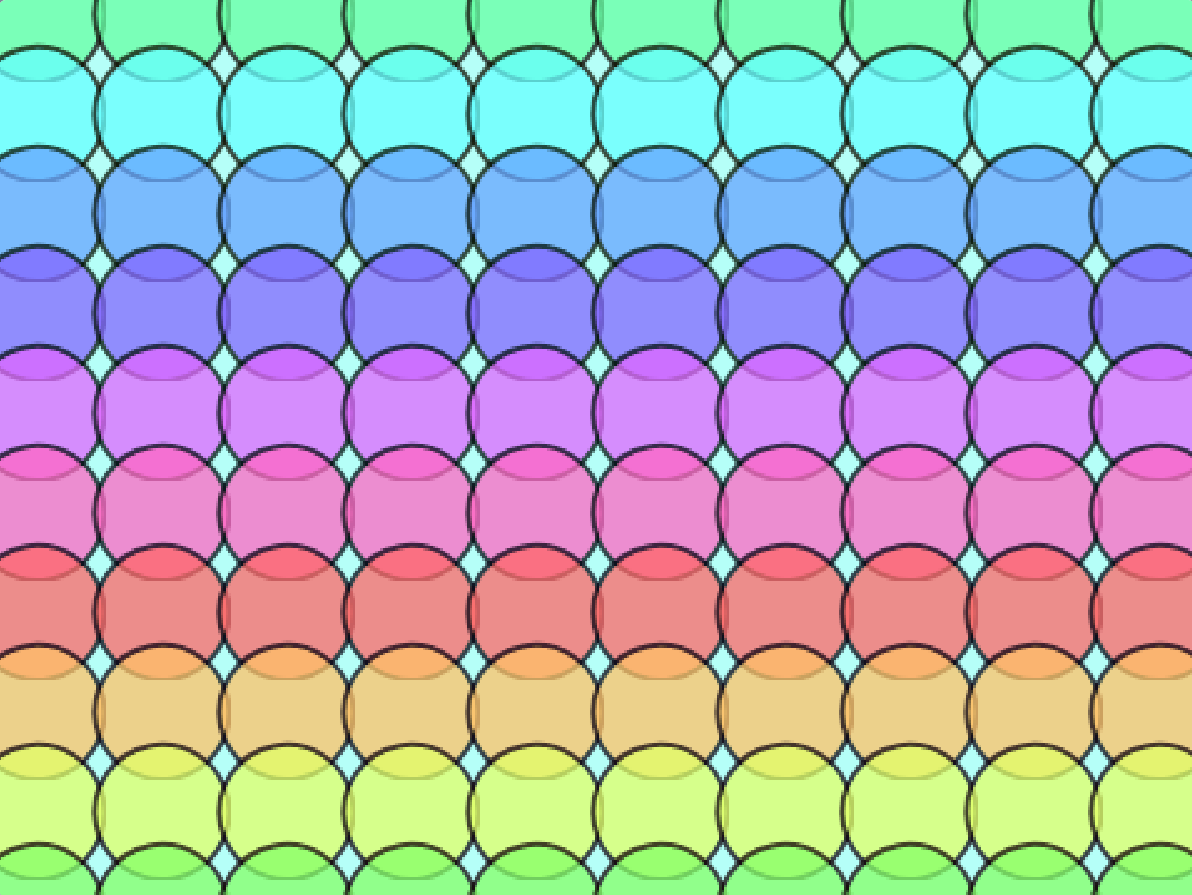
- 14
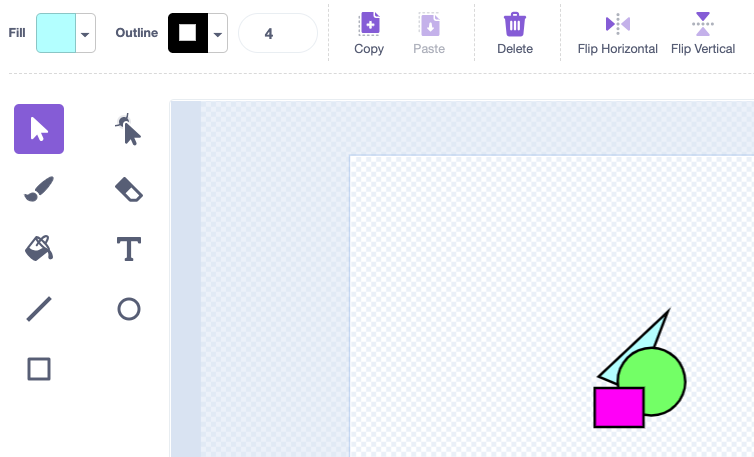
Finally, try editing your sprite's 'costume' by opening the Costumes tab.
You can try adding to the costume or making a new one altogether.

- 15
Now run your project one last time and check out your awesome artwork!
Thanks for building a game with us!
If you enjoyed this coding activity be sure to sign up for our online coding classes for kids. Our coding classes are a lot of fun, but they’re also really effective at teaching coding techniques and challenging students to develop their skills. You’ll learn about loops, variables and functions - and everything in between - and you’ll build your own games and animations with a small group of kids of the same age and experience level as you.
Sign up for one of our free coding lessons